Using the theme
To use the theme extract the main downloaded zip file.
After extracting you will find a folder named similar to theme name. That folder is the production ready ( live site ready ) theme. After the required setup you will make a zip of this folder's content ( all files and folders within this folder ) and upload it to your ghost site.
To set up the theme properly with several setting options, please read through the documentation.
Please edit theme files using a proper code editor. There are lots of free and open source code editor available. You can choose any of those, some popular free code editor Visual Studio Code , Atom
Light and dark mode
This theme comes with light and dark mode. User can select dark or light mode as per their preference. This option let your user choose whether they prefer dark color or light color. User preference will be saved in their browser locally. Whenever they visit your site in future, they will see their preferred mode.
In site design settings options, there is an option to select to select default theme mode. There are three options for theme default mode.
- System - detect user's system preference and set the mode accordingly.
- Light - Set light theme mode.
- Dark - Set dark theme mode.
You can choose one of these three options.
Logo settings
This section describe instruction to setup image logo. If you do not use image logo then site title will be shown at the place of logo and you can skip this section.
As this theme has option to toggle dark and light mode. You have to provide, 2 different logo for 2 different mode.
I recommend to make your logos in svg format, but the format is not absolute requirement.
- At first prepare 2 version of your logo ( each for dark background and light background ).
- Go to ghost dashboard and then Settings > design.
- Under brand section you will see the Publication logo option.
- Upload the logo which is made for light background ( i.e. dark color logo for light background).
- Now close the brand section and open Site-wide section. There is an option named Logo for dark mode.
- Upload the second logo ( light logo for dark background ) there.
Changing navbar behavior
In this theme the stickiness of navigation 2 mode as follows.
- Sticky: Navigation will stick always on top of the page.
- Normal: No sticky navigation.
By default the navigation is set to Sticky mode. You can change this in the site design setting. This option is under Site-wide section.
Choose Sticky or normal at the Navigation bar type setting option.
Featured post on home page
On home page of this theme the top section shows 2 recent featured posts. So make your post as featured and it will be shown there.
If you want to change the maximum number of post in this section, do the following.
- Open home.hbs file.
- At line number 8 you will see the following code.
Change limit="2" to the number of your choice.
If you don't want to show the featured section on home page entirely Just delete the home.hbs file from your theme folder. Now home page will use index.hbs file which will not show the featured post section.
API key for search function
By default this theme now supports the newly launched Ghost's inbuilt Search system. But there is also option for old third party search option in this theme.
If you want to use old search option, you can set in the Design setting option. Under Site-wide section there is a option named Select search option.
If you set the Third party search option then you also have to set an api key in code injection.
Add the following code in code injection header box with your actual content API key.
<script>
apiKey = "ADD_YOUR_CONTENT_API_KEY_HERE";
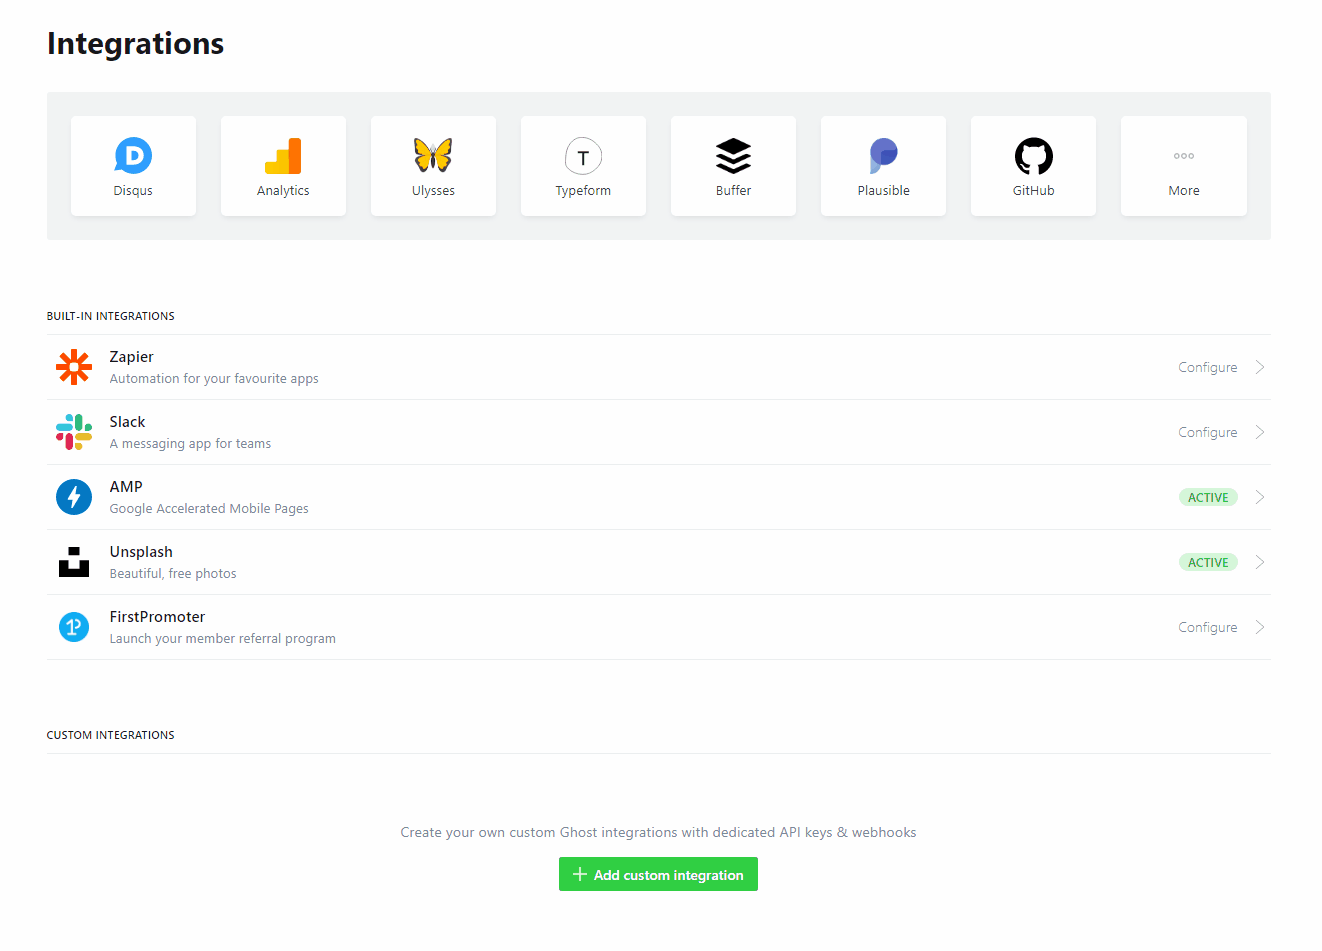
</script>To generate API key, go to Settings > Integration** page and crate a custom integration.
Comment
Select comment option native comment or Disqus comment.
Disqus shortname option is required for Disqus comment.
To setup and get the disqus shortname please follow the steps below.
- Go to disqus.com and sign up.
- After log in go to admin dashboard.
- Then follow the instruction and add your website there.
- At the time of adding your site you will get a disqus shortname, copy that.
- Now put that shortname in the Disqus shortname option text box.
Adding social links
To add your social links in footer please follow the steps below.
From your ghost dashboard, Go to general setting page and scroll down. In social account option, you can add Facebook and Twitter link there. This facebook and twitter will be linked with the icons.
There is no option to add other social links directly from dashboard. Following are the steps to add other links.
- open social-links.hbs file located in partials folder.
- From line number 8, you can add different social links. Replace the
#for eachhrefvalue with your own profile links. - If you want to add other social links or want to remove one then copy or remove one of those lines.
The code in social-links.hbs file, where you will add your links, will look like below.
<a href="#" aria-label="instagram link"></a>
<a href="#" aria-label="github link"></a>
<a href="#" aria-label="medium link"></a>
<a href="#" aria-label="youtube link"></a>
<a href="#" aria-label="vimeo link"></a>
<a href="#" aria-label="behance link"></a>
<a href="#" aria-label="dribbble link"></a>Navigation links
To add links to you static pages please follow the steps below.
- Create a new page in your dashboard.
- Copy the URL for this page from the page settings panel.
- Go to Design page in your admin dashboard.
- Add a label and the URL and save it.
- Now the theme will show newly added link in navigation.
In the footer of this theme the secondary navigation links will be shown.
Installation
Ones the necessary configuration is done, make a zip of the modified theme folder.
Now login to your admin area and go to Design. In that page scroll down and you can find "Upload a theme" button. Upload the theme zip which you have created while ago. After finishing upload, activate the theme.
You also have to upload another file routes.yaml in your ghost site to work all the membership related page (log in, sign up etc.) correctly.
Go to lab page in your dashboard, scroll down and you will see an option for routes. There is a button to upload routes YAML and a link below that button to download the routes.yaml which is being used currently. Download that file and and keep as a backup.
In the downloaded zip you will find a routes.yaml file which comes with this theme and specific for this theme.
Upload that file. Using "upload routes YAML" button.

Please note, if you are using self hosted Ghost then may be a you need to restart ghost to take effect the new routes file. If you are using Ghost (pro). then you don't need to do anything here.
If you want to install the demo data to make your site as the preview then you can go to your-site-url/ghost/settings/labs/ and then import the neoblog.ghost.demo.json file there. This file is located in demo data folder in main download folder.
Importing the demo document may miss images. In that case delete the missing images and upload your own images from dashboard.
Author and tag archive
In this theme there are 2 custom template for Tag archive and Author Archive. To use those template please follow the steps below.
- Create a new page
- Add a Title ( example: Authors or Authors Archive or any thing else you want). It will not be displayed on the page it just create the page slug and URL.
- Open page settings panel by clicking on the gear icon at top right corner of the page.
- Below that there is an dropdown selectable option called "template". Choose "Author archive" template option there.
- Now save and publish the page.
- Copy The "post-URL" and use it to create a menu link in design page in your admin area, as you normally do for other static page.
- Save it and visit your site. If you did everything right then you will see your newly created link in your menu bar. Open to see all available author list.
For Tag archive page follow the same steps as author archive setting. At step 4 choose "Tag archive" option from dropdown select option. Then Follow all the remaining steps and you will be able to add a tag archive page in you site.
Contact form
In the demo of this theme you have seen a contact form. As ghost has no inbuilt feature for this you have to use a third party service. In demo formspree has been used.
If you want to add contact form in your site same as the demo, then follow this steps.
There is a file named contact-form-code.txt in the downloaded zip folder.
Copy the entire code from that file, now go to your page editor and then add the code using an HTML card. Change the example email address to your own email address within the code.
Theme translation
This theme supports translation. Please follow the steps below to translate this theme in your language.
- Within theme folder, there is a folder named "locales". In that folder by default you will find a file named "en.json". This is the default file for English language and you have to use this file to create your own language file.
- make a copy of en.json and give a name following this format [language_code].json ( example: for French fr.json for German i.e. Deutsch de.json for Russian ru.json etc. )
- If you are not sure about what is you language code then you can visit this wiki page and see. Use the two letter (ISO 639-1) code.
- Now open the newly created
<your_language>.jsonfile in text editor. You will see"KEY": "VALUE"format in each line. - In English language KEY and VALUE are same. Now you read the left part of the : i.e. KEY part and change the tight part i.e. VALUE part to your own language.
- After finishing the translation Save the file and upload the theme to your site.
- Go to your admin area, Visit "General setting" page and change the "publication Language" option. By default there is "en" for English. Add your own language code there in place of "en" and save the settings.
- Visit your site, If everything goes right, you will see all the theme related text in your site is in your translated language.
If you translate the theme in any language, then please consider to share ( feel free to send me via email ) that language file. I will add that file to the theme, so that it will available to other users.
Theme customization
If you need to add only small CSS then you can add using Ghost's Code Injection feature. In "blog header" box you can add CSS like below example. replace the CSS with your own CSS between the <style> tag.
<style>
  .header-wrapper .text-logo {
      color: #076eff;
  }
</style>
Detail customization prerequisite
This theme is built using Gulp to compile JavaScript and CSS. CSS is written in SCSS. So if you want to modify the theme color, styles or appearance or anything you want to customize, before doing that you need to setup development environment setup.
Please follow all the steps below one by one to do it.
You need to have installed node js and gulp installed in your local machine.
- If you don't have NodeJS installed in your machine then visit nodejs.org and download and install latest LTS version of NodeJS.
- After installing NodeJS open a command prompt or terminal. Then type
node -v. If it shows a version number then NodeJS is installed correctly. Also enter this commandnpm -vto see npm ( comes with node js) is installed properly. - After installing node js you need to install Gulp CLI globally in your machine. So in your terminal or command prompt enter this command.
npm install gulp-cli -g. It may take some time, it will install Gulp CLI globally in your machine. Now you have done the environment setup. - At this point go to the development theme folder. In downloaded zip there is a folder named "development". Within that folder you will see a folder named as the theme name. Enter in that folder and run command prompt / terminal here. Or you can navigate to this folder within already running terminal.
- Now enter command
npm install. It may take some time. It will install all the development dependency within the project. It may show some warning, don't worry those are OK. - At this time you are ready to modify theme, Run one more command
gulpin the terminal. It will initially compile all files and star to watch file changes. Keep the terminal open and start customizing the theme.
How to change color or CSS
In the theme folder you will find "assets > scss" folder which contains all the theme styles written in SCSS.
To change any style / css you need to modify here. In SCSS folder you will find a folder named "components" which contains a bunch of .scss files which are part of the whole theme's style. and all those files are imported in a specific order in "screen.scss" file located in "scss" folder root outside of "components" folder. please don't edit that file.
To change the Theme color please follow the steps below.
- Open the _global-settings.scss file in your code editor.
- Now you have to change the color hexcode (#xxxxxx) in this file and save the file.
- If you have followed the above section of instruction ( Detail customization prerequisite), and already running terminal with the gulp command then the file changes will be detected and if there is no error in your file then it will be automatically compiled.
The _global-settings.scss file looks like below.
/*=====================================================
    Fonts
=====================================================*/
:root {
    --font-family: 'Manrope', -apple-system,BlinkMacSystemFont,"Segoe UI",Helvetica,Arial,sans-serif,"Apple Color Emoji","Segoe UI Emoji","Segoe UI Symbol";
}
/*=====================================================
    light theme colors ( as SCSS mixin )
=====================================================*/
@mixin theme-light {
    --body-bg: #F3F6F9;
    --card-bg: #ffffff;
    --theme-color: #0571F0;
    --light-bg-color: #F3F6F9;
    --text-color-normal: #424447;
    --text-color-dark: #06111D;
    --text-color-light: #a1a1a1;
    --border-color: #E8E9EB;
    --shadow: 0px 2px 20px rgba(0, 0, 0, 0.08);
    --shadow-two: 0px 2px 40px rgba(0, 0, 0, 0.08);
}
/*=====================================================
    dark theme colors ( as SCSS mixin )
=====================================================*/
@mixin theme-dark {
    --body-bg: #101216;
    --card-bg:#1e1f24;
    --theme-color: #0571F0;
    --light-bg-color:  #16191E;
    --text-color-normal: #c2c3c7;
    --text-color-dark: #fBfBfC;
    --text-color-light: #727272;
    --border-color: #0c0c0c;
    --shadow: 0px 2px 20px rgba(0, 0, 0, 0.2);
    --shadow-two: 0px 2px 40px rgba(0, 0, 0, 0.2);
}
/*=====================================================
    common variables ( as SCSS mixin )
    define common variable for light and dark here
=====================================================*/
@mixin common-vars {
    --white: #FFF;
    --black: #000;
    --border-radius-small: 2px;
    --border-radius-medium: 4px;
    --border-radius-large: 6px;
    --success: #16c79a;
    --error: #f05454;
}
/*=====================================================
    ⚠ WARNING: please do not edit below this line,
    incorrect coding may break the theme

    Merging common variables with light and dark
    separately
=====================================================*/
:root {
    @include common-vars;
    @include theme-light;
}
[data-theme="dark"] {
    @include common-vars;
    @include theme-dark;
}
After modifying the theme css when you are done and want to install the final theme in your live site, do the following.
- Go to running terminal ( terminal is navigated to development theme folder and running
gulpcommand to watch the file changes ) - Press Ctrl + C or Cmd + C in your keyboard to end the running task.
- After ending running task enter this command,
gulp build. This command will build the production ready ( live site ready ) theme package within a folder named "build". - After doing the
gulp buildif you need you can configure the theme options ( such as disqus shortname, social links etc ) then use this commandgulp zip. It will make a folder named "dist" and make a zip of the contents of "build" folder within "dist" folder. - Now you can upload this newly created zip in your ghost admin panel.
Changelog
V 3.0.0 - October 06, 2022
- Upgrade the theme for Ghost version 5 and up.
- Added various option in theme settings.
V 2.0.0 - March 16, 2021
- Updated Ghost engines and API to v4
- replaced deprecated @site.lang with new @site.locale
- Fixed currency symbol using new price helper
- Removed @lab.members condition checking because members are now out of the lab flag.
- updated single post view for properly showing the content preview above the subscription CTA.
- Updated all third party dependency and development dependency in the package.
V 1.1.0 - February 23, 2021
- Added members related pages log in, sign up and subscribe page.
- Added notifications related to to members actions.
- Added custom routes.yaml file to support custom members related routes.
- Updated translation files to include new strings.
- updated and added required CSS.
V 1.0.1 - November 27, 2020
- Fixed issue for light dark mode.
V 1.0.0 - November 22, 2020
- Initial release